

The Files panel
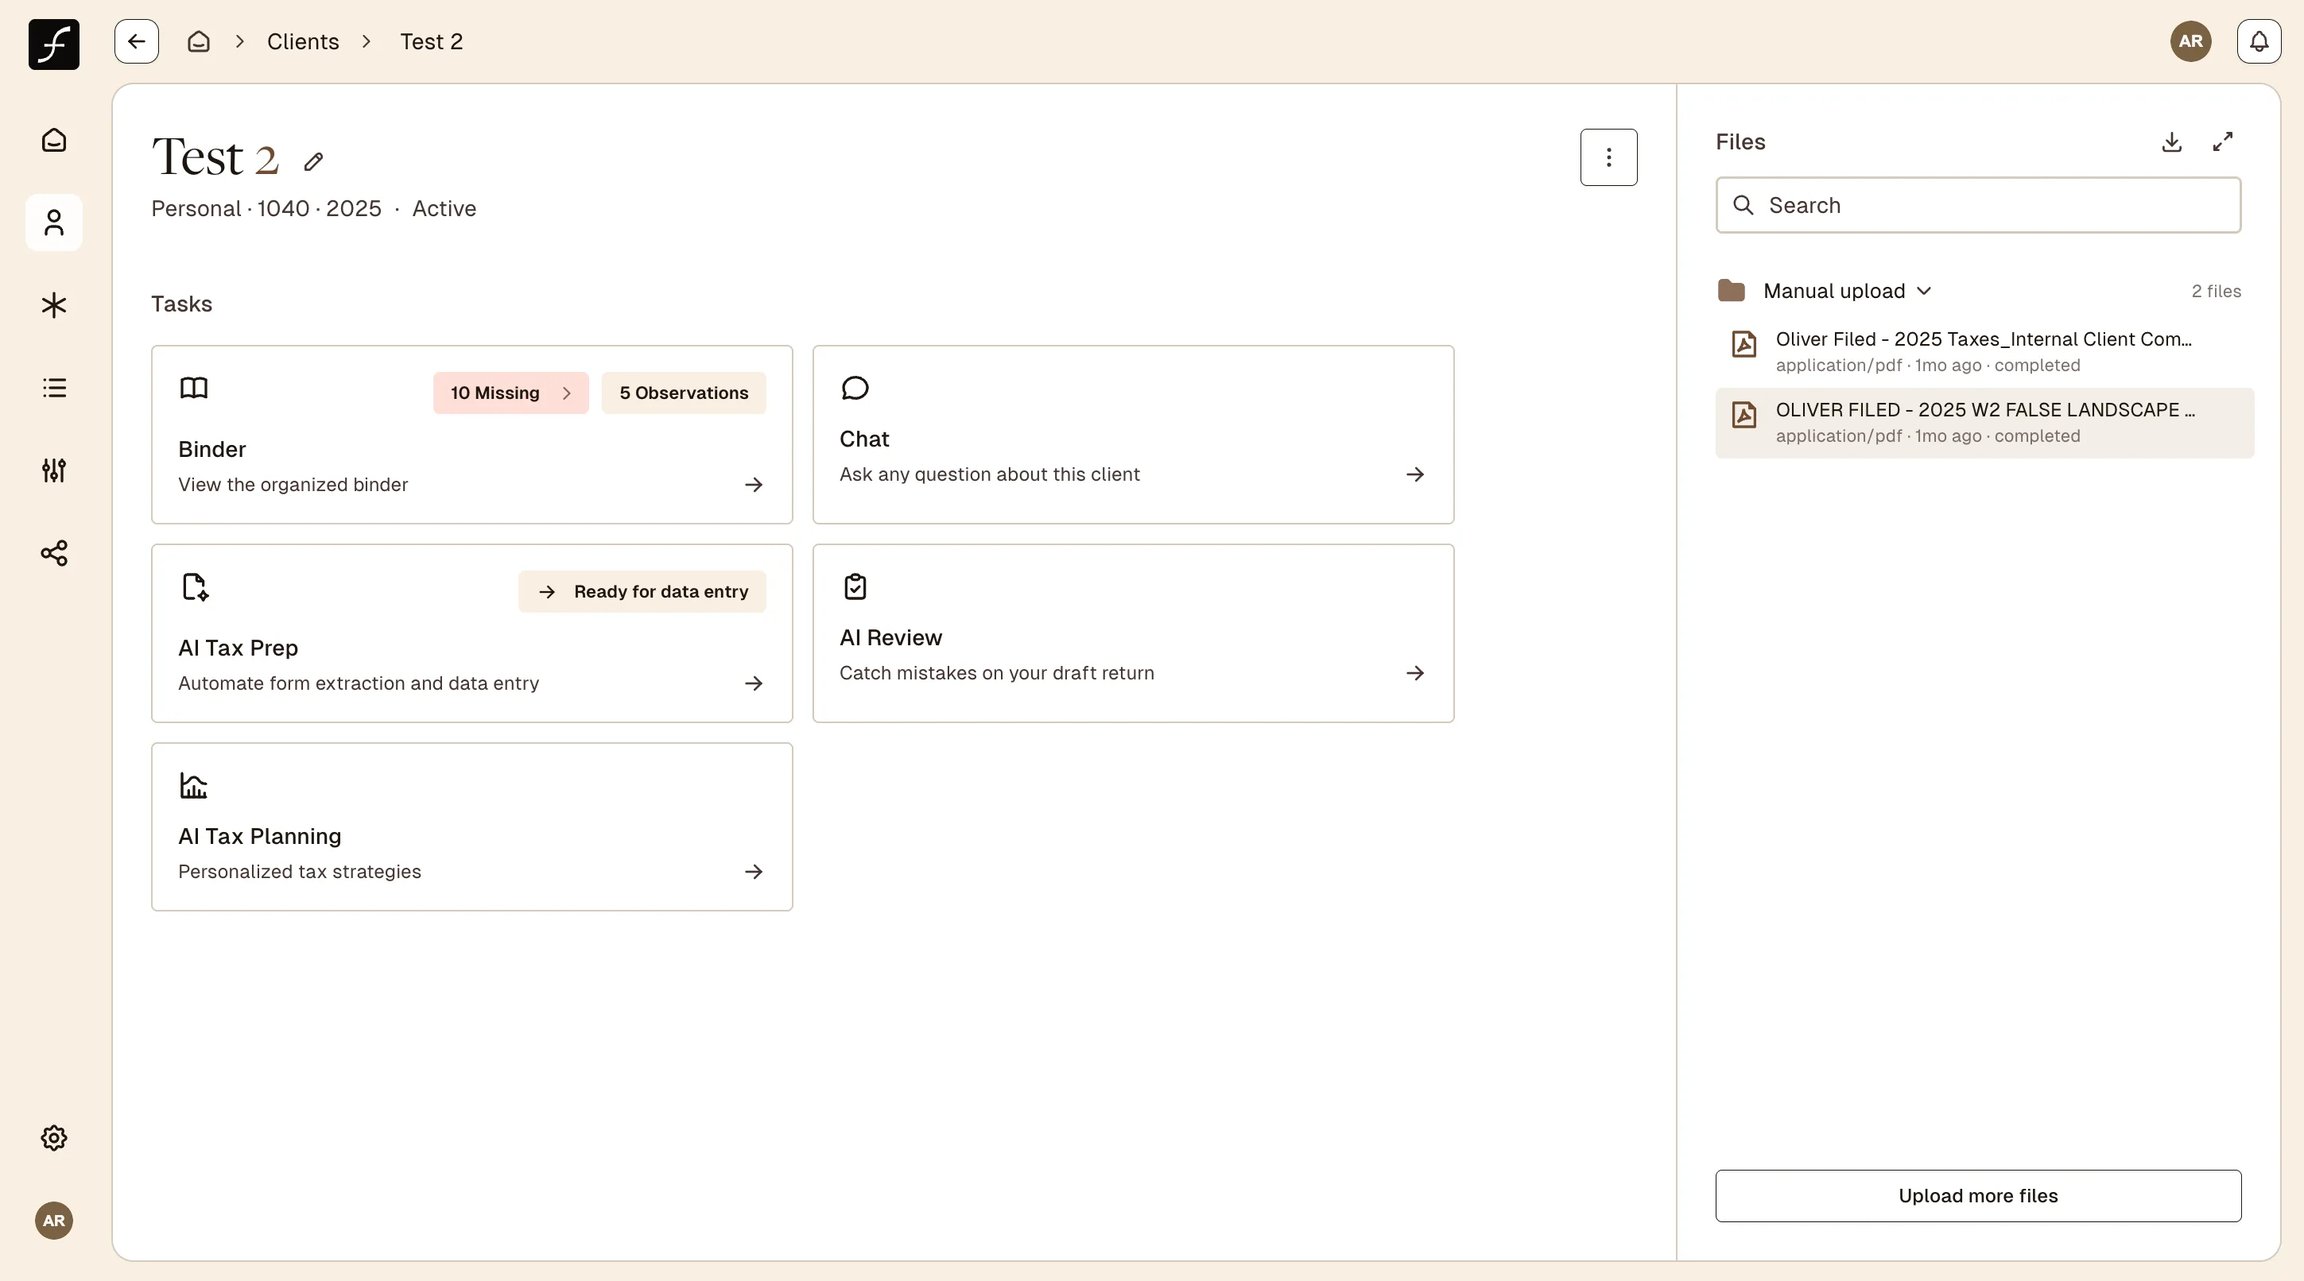
The Files panel lists every document uploaded for this client. It is the document viewer - the raw material the AI worked from.
The key distinction: the Forms tab (in the Binder) shows what the AI will prepare; the Files panel shows what was uploaded.
Navigating the document list
The Files panel sits on the right of the client page. This is the list of original uploaded files - what the AI worked from - separate from the AI's internal sub-document splits shown in the Binder.
Walkthrough: open and view a source file
On the client page, the Files panel lists every uploaded file grouped by upload source (for example, Manual upload). Click the group's chevron to collapse or expand it, and use the search box to find a file by name. The header has controls to download all files and to expand the panel.
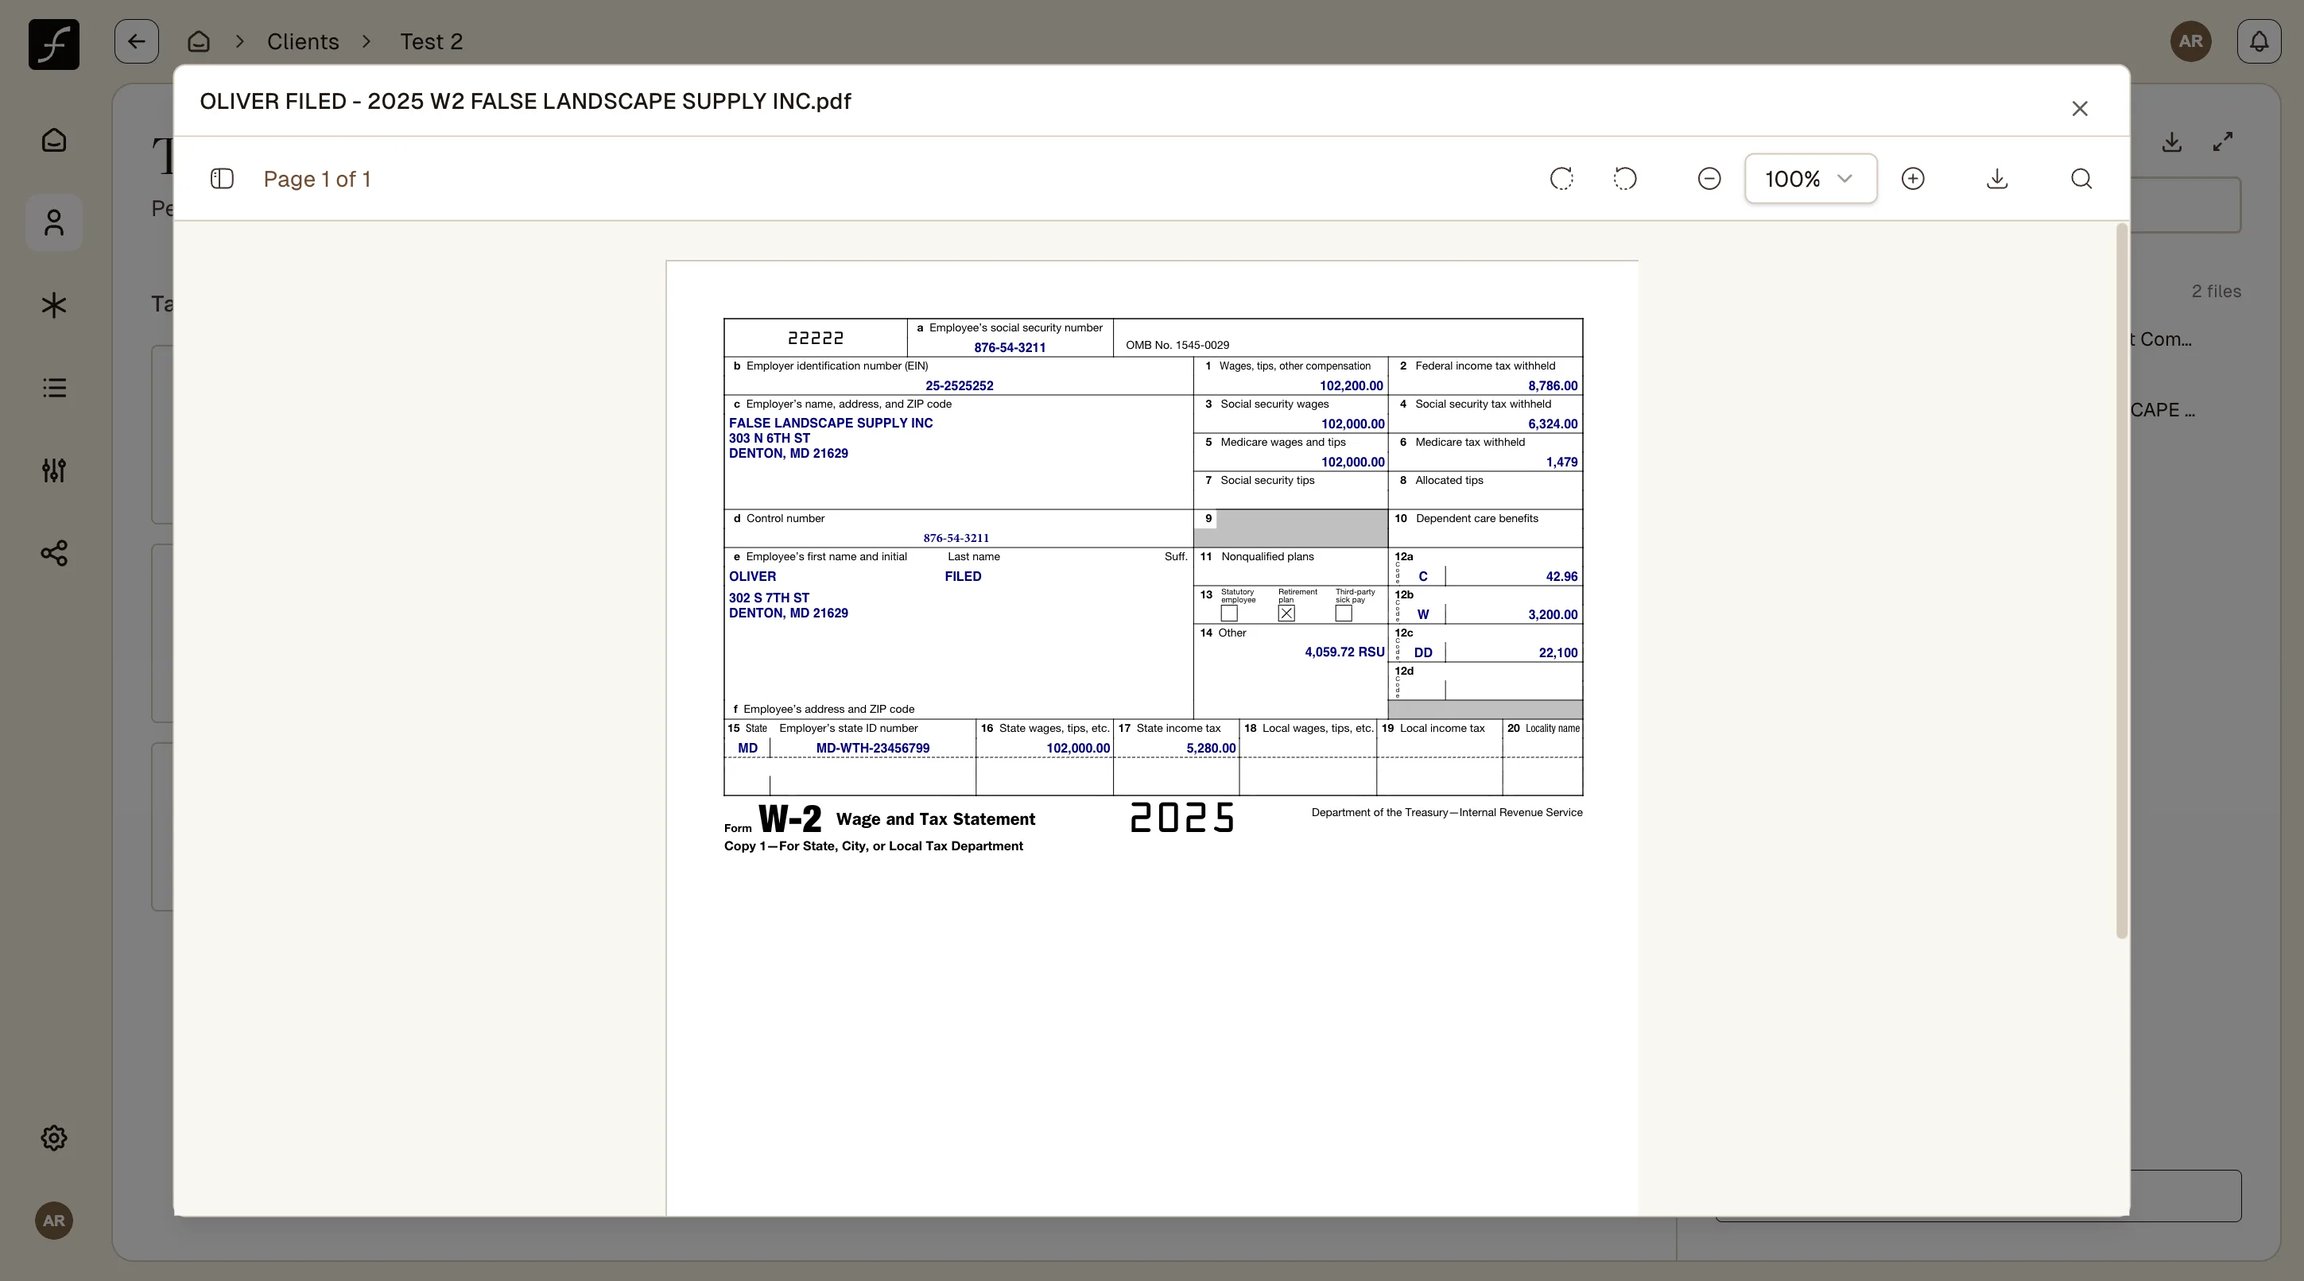
Click a file to open it in the document viewer. The viewer shows the page count, page navigation, zoom and rotate controls, a thumbnail/page panel toggle, search, and a download button.
Each row in the list represents one uploaded file, showing the filename and the upload source (manual upload or connected integration). The list can be collapsed and expanded to reduce visual clutter when a client has many files.
Expanding multi-page documents
Documents with multiple pages show an expand control (a blue arrow) next to the file row. Clicking it reveals individual pages so the preparer can navigate directly to a specific page - useful when an Observation references a particular page in a long PDF.
Viewing a document
Each row has a View button. Clicking it opens the document in the viewer. This is the primary way to examine a source document when an Observation or a flagged form requires investigation.
How documents are organized
Documents appear in the order they were uploaded or synced. Each uploaded file may contain multiple forms; Filed splits them internally into sub-documents during processing - for example, a single PDF containing a W-2 and a 1099-INT becomes two sub-documents. The Files panel shows the original uploaded files, not the AI's internal sub-document splits.
Adding more documents after tax prep runs
To add a document to an existing client, use the Files panel on the client page or the "Upload files" button on the Forms tab. Filed adds the file to the client's source files without creating a new client record.
If the new document is material - for example, a late K-1 that introduces new forms the AI has not seen - consider whether to re-run tax prep. Anyone with a full seat who can see the client can re-run.
Do not re-upload the client from the Clients list or home page. Doing so creates a new, duplicate client record. Always add files to the existing client via the client page Files panel.
See Frequently Asked Questions for guidance on when to re-run after uploading additional documents.
Downloading source files
Source files can be downloaded from the client page's Files panel using the download button in the panel header. See Downloading Client Files for full instructions.
Last updated
Was this helpful?